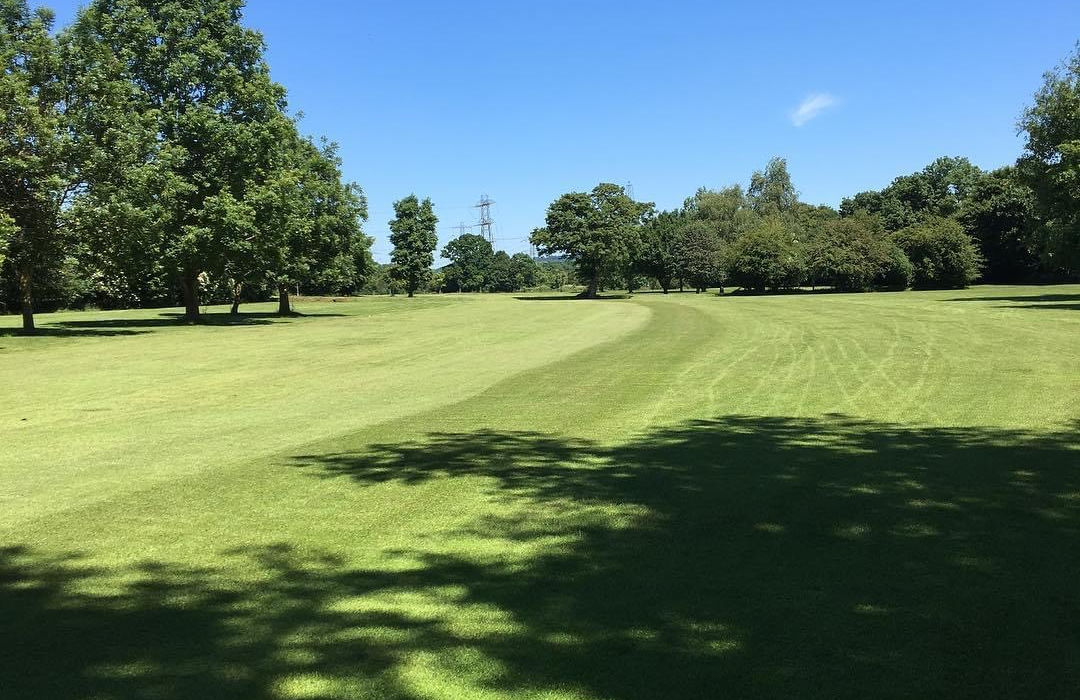
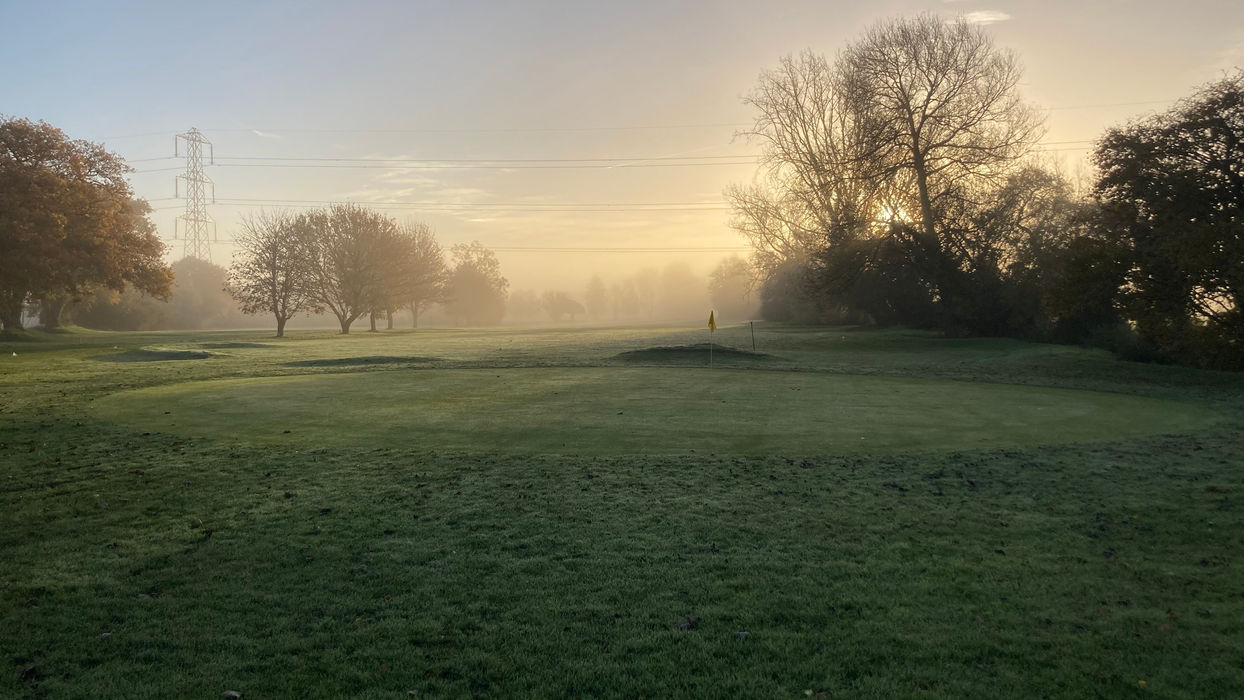
We are a 9 hole course with two different sets of tees on each hole, some of which make the holes dramatically different. The nature of the course means that you can play a number of holes in different ways - conservatively with an iron or aggressively with the driver, herein where the challenge lies.
Internal out-of-bounds, ditches, bunkers and other well placed hazards mean this course gives a true test of golf, designed in the traditional sense - accuracy is rewarded rather than distance, as is common with modern day courses.
Explore the course below, we've provided an overview of the each hole with photos. and our resident PGA Professional, Rob Morris has also supplied a Pro tip, to help you navigate the course successfully.

Hole 1 & Hole 10
443 ~ 530 yards
Overview: The opening hole presents a challenging start, with out of bounds (OB) looming on the left side. Precision off the tee is crucial to avoid the fairway tree that can hinder your approach to the flag.
Rob’s Tip: Lower handicappers can aim to clear the central tree with their tee shot to set up a strong start. Alternatively, a strategic tee shot to the right followed by a well-executed second shot past the tree can still offer a chance for a successful approach to the green.


Scorecard
Hole 2 & Hole 11
323 ~ 383 yards
Overview: Accuracy is key on this narrowing fairway. Optimal positioning from the right side sets up a favorable approach to the green.
Rob’s Tip: Utilize your shots wisely here. A conservative approach, aiming for a specific yardage on your second shot, can significantly improve your chances of landing in the wider part of the fairway for an easier approach to the green.

Hole 3 & Hole 12
111 ~ 158 yards
Overview: This par 3 offers varying challenges depending on pin placement and course conditions. Careful club selection is essential to avoid the greenside bunkers and secure a chance for a net birdie.
Rob’s Tip: If you have a shot to spare, strategically choose a club that allows you to comfortably clear the bunkers, setting up a favorable chip onto the green.

Hole 6 & Hole 15
232 ~ 279 yards
Overview: A challenging dogleg left with OB on the left side. Players must navigate the fairway and contend with a ridge & furrow green.
Rob’s Tip: Opt for a tee shot down the right side to avoid the OB and set up a favorable approach angle. Short right approaches to the green offer the best chance for success.

Hole 5 & Hole 14
128 ~ 159 yards
Overview: Water hazards threaten shots to the right, requiring precision to avoid trouble. The multi-tiered green adds complexity to putting.
Rob’s Tip: Favoring the left side of the green, even when the pin is on the right, can mitigate risks and improve your chances of a successful approach.

Hole 4 & Hole 13
267 ~ 317 yards
Overview: A short par 4 with OB lurking on the right. Players must navigate mature trees and bunkers for a chance at a favorable score.
Rob’s Tip: Assess the risk-reward scenario carefully. Lower handicap players may opt for a longer tee shot to set up an easier approach, while others should focus on positioning themselves past the trees with conservative shots.

Hole 9 & Hole 18
407 ~ 451 yards
Overview: A challenging finishing hole with OB and water hazards threatening on both sides. Precise placement off the tee is crucial for a successful approach.
Rob’s Tip: Confidence in club selection is key, especially when carrying hazards. Strategic choices off the tee and approach shots can make or break your score on this demanding closing hole.

Hole 8 & Hole 17
227 ~ 270 yards
Overview: A strategic test of course management, with options to play aggressively or conservatively. Ponds near the green add further challenge.
Rob’s Tip: Opt for a medium club down the right side to set up a manageable second shot. Assess the risk of carrying the ponds for big hitters versus playing it safe for a simpler approach.

Hole 7 & Hole 16
121 ~ 141 yards
Overview: A relatively straightforward hole with a large green, but players must avoid a crossing ditch on their approach.
Rob’s Tip: With no sensible layup option, commit to your shot selection and go for it with confidence.
)%20(2).png)


